EC2 DFIR Workshop
Lab 1: Preparing the Demonstration Host Target
GOAL:
Create some interesting “evidence” to forensicate.
NOTICE: This workshop uses tools from The Sleuth Kit (TSK). Sluethkit does not support the newer XFS Filesystem.
SUMMARY OF STEPS:
- Launch an Instance
- Run the Infection Script
Step 1: Launch an EC2 Instance
WARNING: Do not launch this instance in a production environment, As we will
install malware on it. If you are concerned about this, use the public snapshot
snap-05f0794291c491687 for Lab 4 and skip this lab.
Step 1a: Click the “Launch Instance” button from the EC2 Console
Step 1b: Choose the “Amazon Linux AMI.”
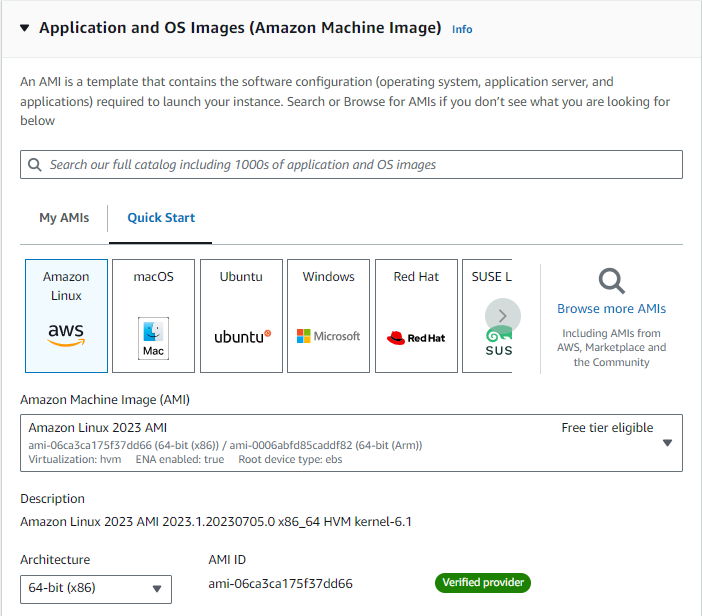 IMAGE 3: Launch the Correct Amazon Linux AMI
Step 1c: Set the Name tag to “Target” and add it to a Security Group that allows only SSH inbound. Leave outbound open. Accept the other defaults and launch the instance.
VIDEO: Lab 1 Step 1 - Launch an EC2 Instance
Step 2: Run the Infection Script
SSH into the “Target” instance and run the Infection Script (shown below) to install a variety of artifacts to discover in the subsequent labs. Don’t examine the don’t_peek.sh file or it will ruin the fun.
wget https://s3.amazonaws.com/forensicate.cloud-data/dont_peek.sh
sudo bash dont_peek.sh
Note: The instance will shut itself down in 10 minutes so just let it run
VIDEO: Lab 1 Step 2 - Run the Infection Script